Web Publishing With Github Pages and Hugo
#project/learn-by-doing
by Yuanyuan Ge
March 2020
Build a Personal Website With Github Pages and Hugo
A personal webpage is a perfect place to let the world know about you and showcase your past accomplishments. Put your resume, your projects, your blogs in with a personalized theme which makes people know you have a great taste: all-in-one! It’s your portfolio displayed online, a small yet cool project you can do with not much effort, why not?
With Github Pages, we can host a personal webpage without bothering about finding a domain name, and with Hugo, we have a variety of themes to choose from. This tutorial uses a Mac OS and will run several command-line in terminal: don’t worry, it’s absolutely a tutorial for starters! Now, let’s start this step-by-step tutorial to set up your personal webpage!
Introduction to HUGO and GitPage
Hugo is one of the most popular open-source static site generators and is written in GO. It’s simple, efficient, easy to scale and fast to deploy. Simply install with brew, clone themes you like from Github or the official website HUGO, make some changes in the configuration file and deploy, then your page will be online.
Github Pages is a static web hosting service provided by Github, which provides 1GB of free space and provides convenient deployment directly through the Github repository.
This site uses Hugo and Github Pages to create and deploy. The following briefly introduces the deployment process.
STEP 1. Installation
Install Hugo
Open your terminal, run the following command-line one by one:
brew install hugo
To check whether you installed Hugo successfully, enter the following into your terminal
hugo version
And when the version displayed as shown in this screenshot, success!

Install Git
Hugo also recommends installing Git, to check if you have it on your computer, run:
git --version
If you’ve installed it, it shows your version of git, if not, it will prompt you to install it automatically.
Finish? Let’s move to the next step!
Success!
STEP 2. Build your site locally
Now let’s build a site locally on your computer first.
Set up the site
The first step is to go to the directory where you want to save your website, I want to create my site on my desktop, so run the following command in terminal:
cd /Users/ekliao/Desktop
hugo new site mysite
Then, you’ll see as the following screenshot, and a folder called “mysite” is already on your desktop!
Done. So easy!

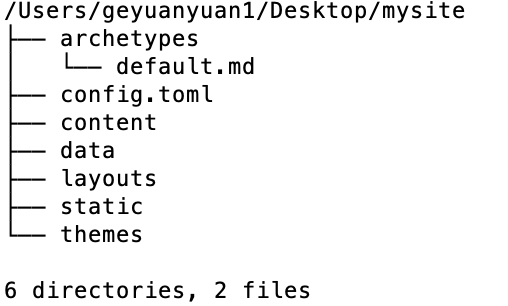
The folder structure will look like this:
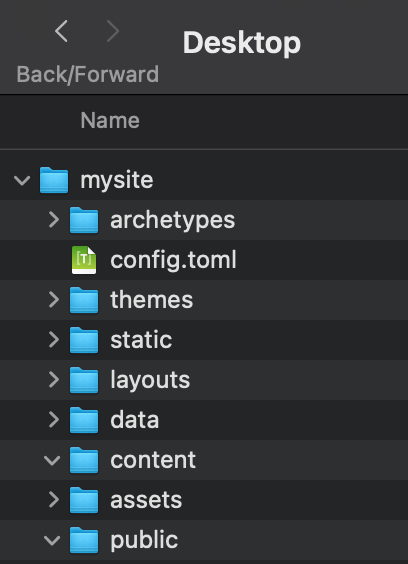
Mine has more:
What are these files/ folders used for?
The ones we will work with:
- config.toml : the configuration file, we will need to edit it later.
- content : stores all the content of the website, including all of your blog posts, resumes and so on, can include folders, but usually all
.mdfiles. - static : Stores static files such as your background pictures, logos, css, js, etc. The files in this directory will be directly copied to it
/public. This folder has higher priority than the/staticfolder under the theme. - themes : now it’s empty, but will save the theme of your choice later.
The others, but we will not use them in this tutorial:
- archetypes : stored
.mdtemplate files, it has higher priority than/archetypesfolders under the theme. - data : stores data files for template calls
- layouts : store
.htmltemplates, this folder has higher priority than/layoutsfolders under the theme
Also, there will be a “public” folder created when you want to deploy the website:
- public : After executing the
hugocommand, store the generated static file
Choose a theme
Pick a theme you like from the official website Hugo themes or from Github (You can find the source themes from people’s Repository)!
Here I used this theme which was based on the “casper” theme and edited by @vjeantet.
The
caspertheme threw many nasty ERRORs at thehugo serverstep, so I helped myself by Googling the error and used a different themehermitinstead. Cloning it using this command:
cd mysite
cd themes
git clone https://github.com/Track3/hermit.git
Then, I had to move the
hermitfolder right undermysiteintothemes.
Run the following command line in your terminal:
cd mysite
cd themes
git clone https://github.com/vjeantet/hugo-theme-casper
Or, a simple way is to download the entire repository and replace the “themes” folder!
Edit config.toml
Now let’s set up some configuration, open the “mysite” folder and open “config.toml” with your text editor.
It only has three lines now as following:

Don’t worry, go to where you found the theme and find some sample repositories, here I went back to @vjeantet’s sire repository vjeantet.fr to find his “config.toml”, copy all the contents into our local file, and do some customized edit.
A configuration example as following:
baseURL = "https://example.com"
languageCode = "en-us"
defaultContentLanguage = "en"
title = "Hugo Hermit"
theme = "hermit"
# enableGitInfo = true
pygmentsCodefences = true
pygmentsUseClasses = true
# hasCJKLanguage = true # If Chinese/Japanese/Korean is your main content language, enable this to make wordCount works right.
rssLimit = 10 # Maximum number of items in the RSS feed.
copyright = "This work is licensed under a Creative Commons Attribution-NonCommercial 4.0 International License." # This message is only used by the RSS template.
enableEmoji = true # Shorthand emojis in content files - https://gohugo.io/functions/emojify/
# googleAnalytics = "UA-123-45"
# disqusShortname = "yourdiscussshortname"
[author]
name = "John Doe"
[blackfriday]
# hrefTargetBlank = true
# noreferrerLinks = true
# nofollowLinks = true
[taxonomies]
tag = "tags"
# Categories are disabled by default.
[params]
dateform = "Jan 2, 2006"
dateformShort = "Jan 2"
dateformNum = "2006-01-02"
dateformNumTime = "2006-01-02 15:04 -0700"
# Metadata mostly used in document's head
# description = ""
# images = [""]
themeColor = "#494f5c"
homeSubtitle = "A minimal and fast theme for Hugo."
footerCopyright = ' · <a href="https://creativecommons.org/licenses/by-nc/4.0/" target="_blank" rel="noopener">CC BY-NC 4.0</a>'
# bgImg = "" # Homepage background-image URL
# Prefix of link to the git commit detail page. GitInfo must be enabled.
# gitUrl = "https://github.com/username/repository/commit/"
# Toggling this option needs to rebuild SCSS, requires Hugo extended version
justifyContent = false # Set "text-align: justify" to `.content`.
relatedPosts = false # Add a related content section to all single posts page
code_copy_button = true # Turn on/off the code-copy-button for code-fields
# Add custom css
# customCSS = ["css/foo.css", "css/bar.css"]
# Social Icons
# Check https://github.com/Track3/hermit#social-icons for more info.
[[params.social]]
name = "twitter"
url = "https://twitter.com/"
[[params.social]]
name = "instagram"
url = "https://instagram.com/"
[[params.social]]
name = "github"
url = "https://github.com/"
[menu]
[[menu.main]]
name = "Posts"
url = "posts/"
weight = 10
[[menu.main]]
name = "About"
url = "about-hugo/"
weight = 20
Note that the picture directories and configuration might vary from theme to theme, make sure to read the instruction of the theme you choose.
Create your first blog
Then, you can create your first markdown file in the content folder by running:
cd mysite
hugo new about.md
If this error occurs, it's a non-print character at start of line 50. Got rid of it and it worked!
ekliao@ELI-1T-Side-MBP14 mysite % hugo new about.md

Error: **"/Users/ekliao/Desktop/mysite/config.toml:50:1"**: unmarshal failed: toml: invalid character at start of key: â
Or, you can edit the markdown file in your text editor and save it to the content folder!
You need to delete the line “draft=true” to make it shown on your site.
Content of about.md will be available at http://localhost:1313/about
Test the site locally
Run the command:
cd mysite
hugo server
hermittheme worked!
The terminal will show instruction like this:
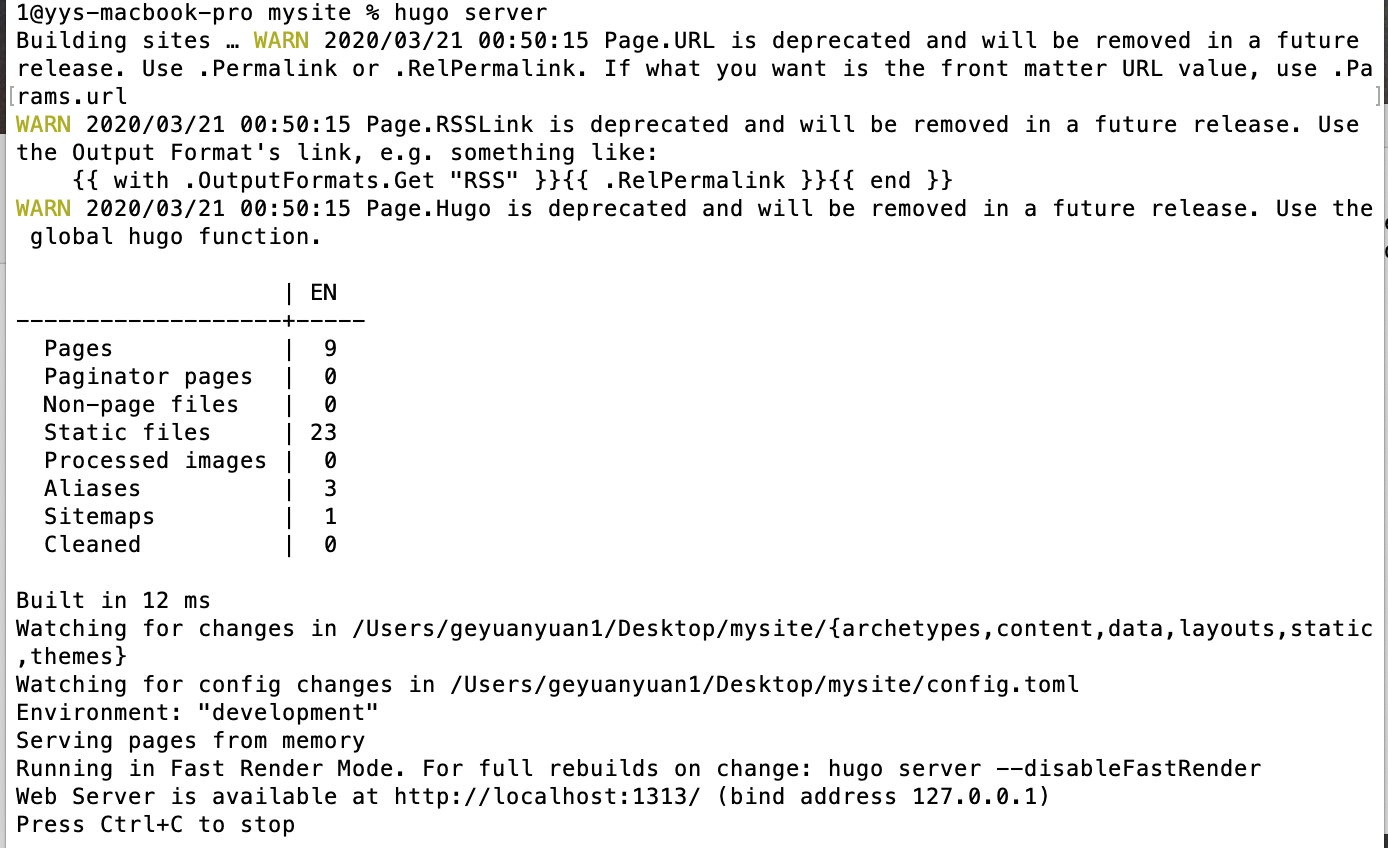
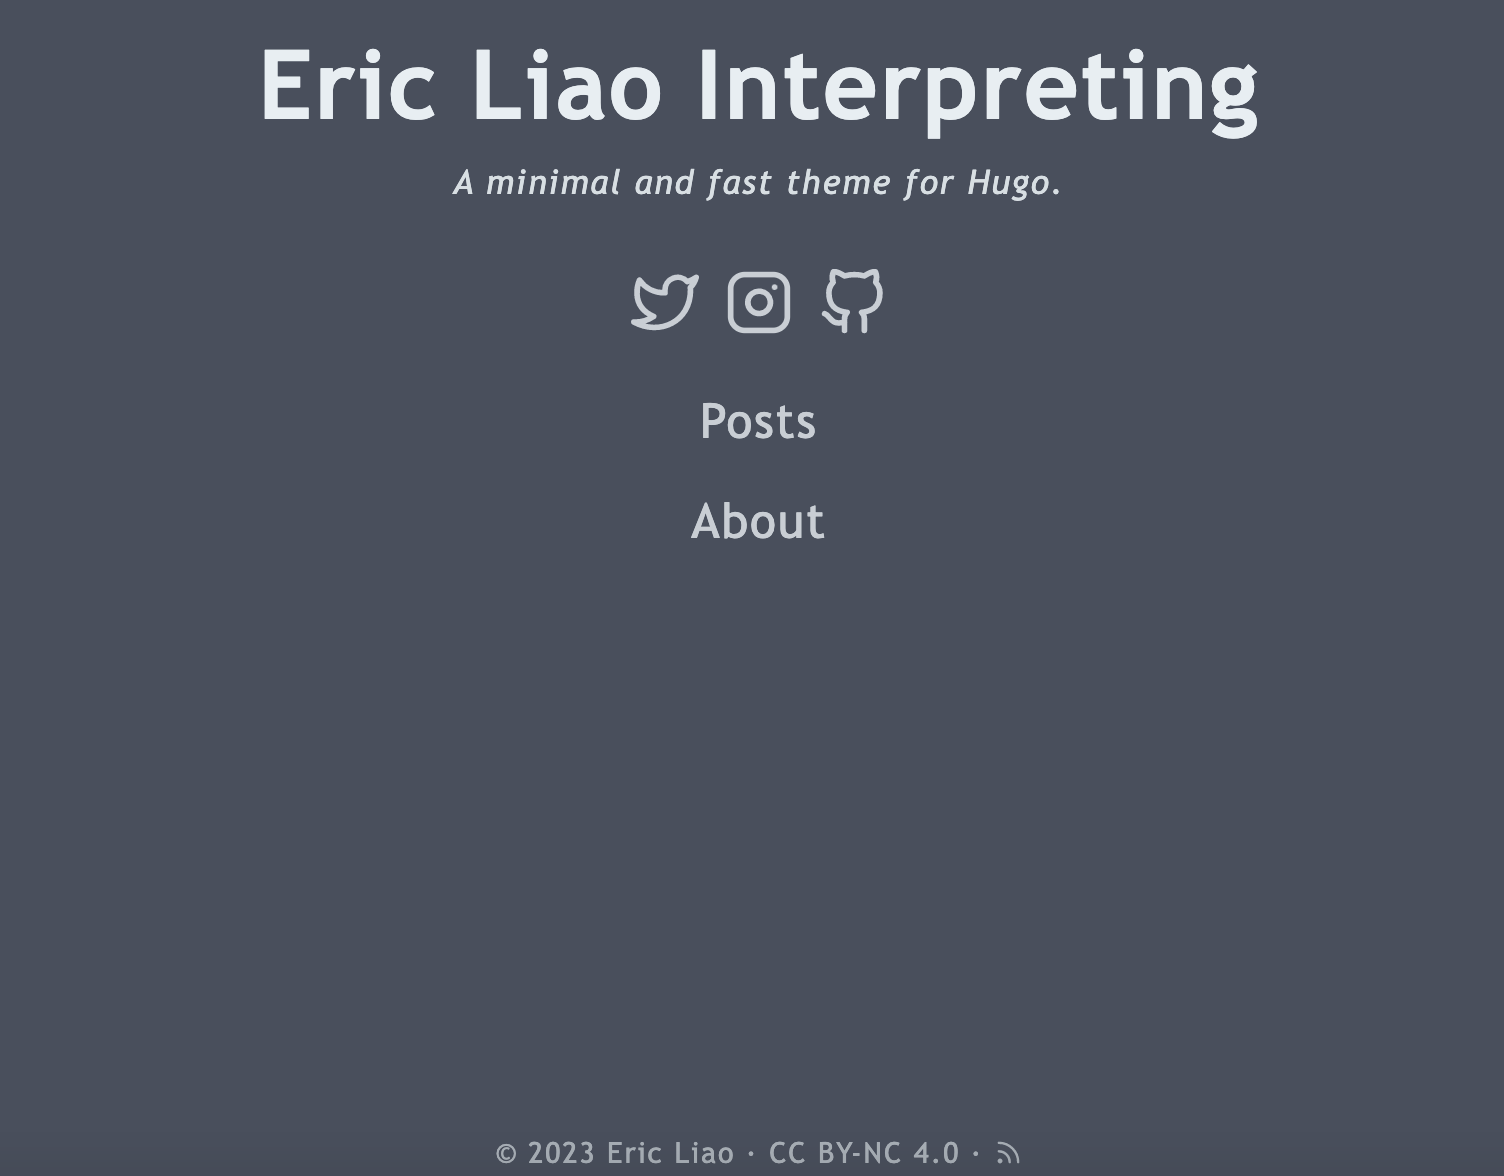
Go to http://localhost:1313/ in your web browser and the page is shown!
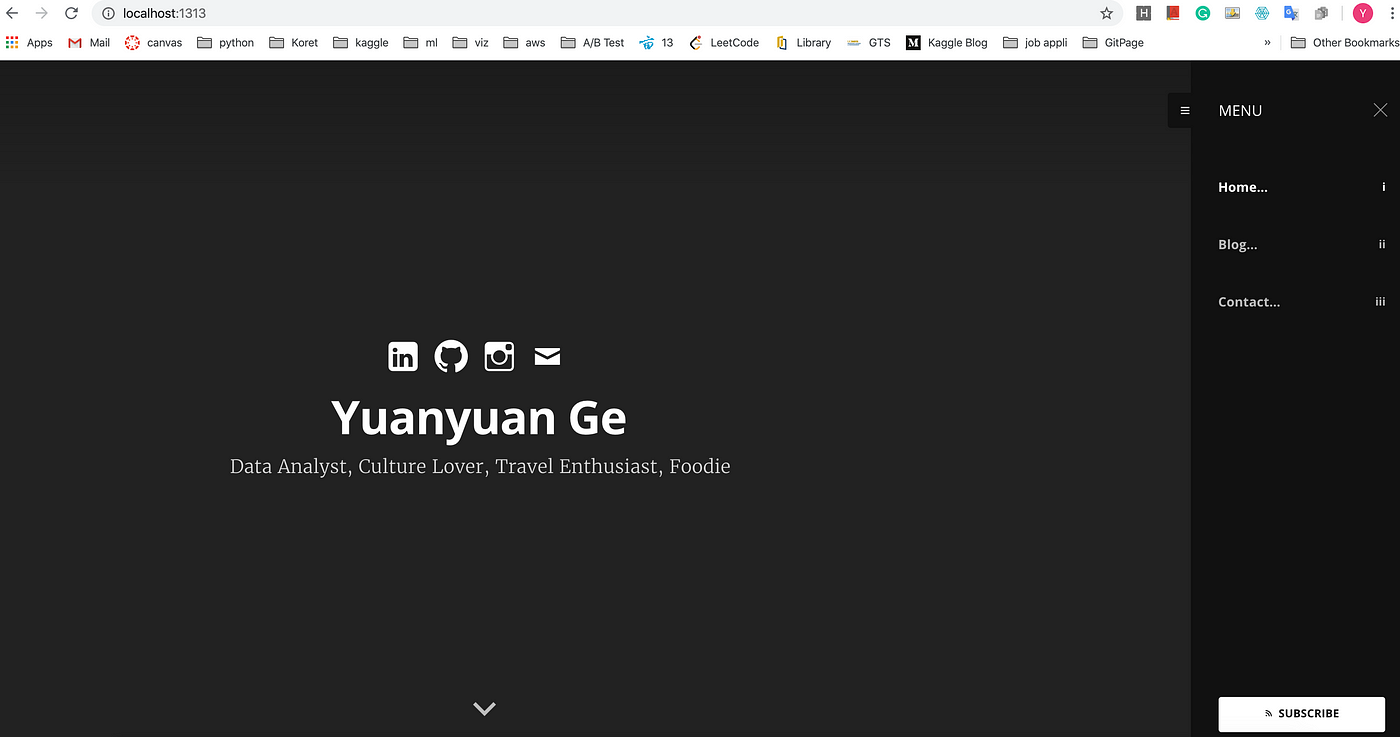
(Here I didn’t put the background image into the ./static/images folder, so it’s all black)
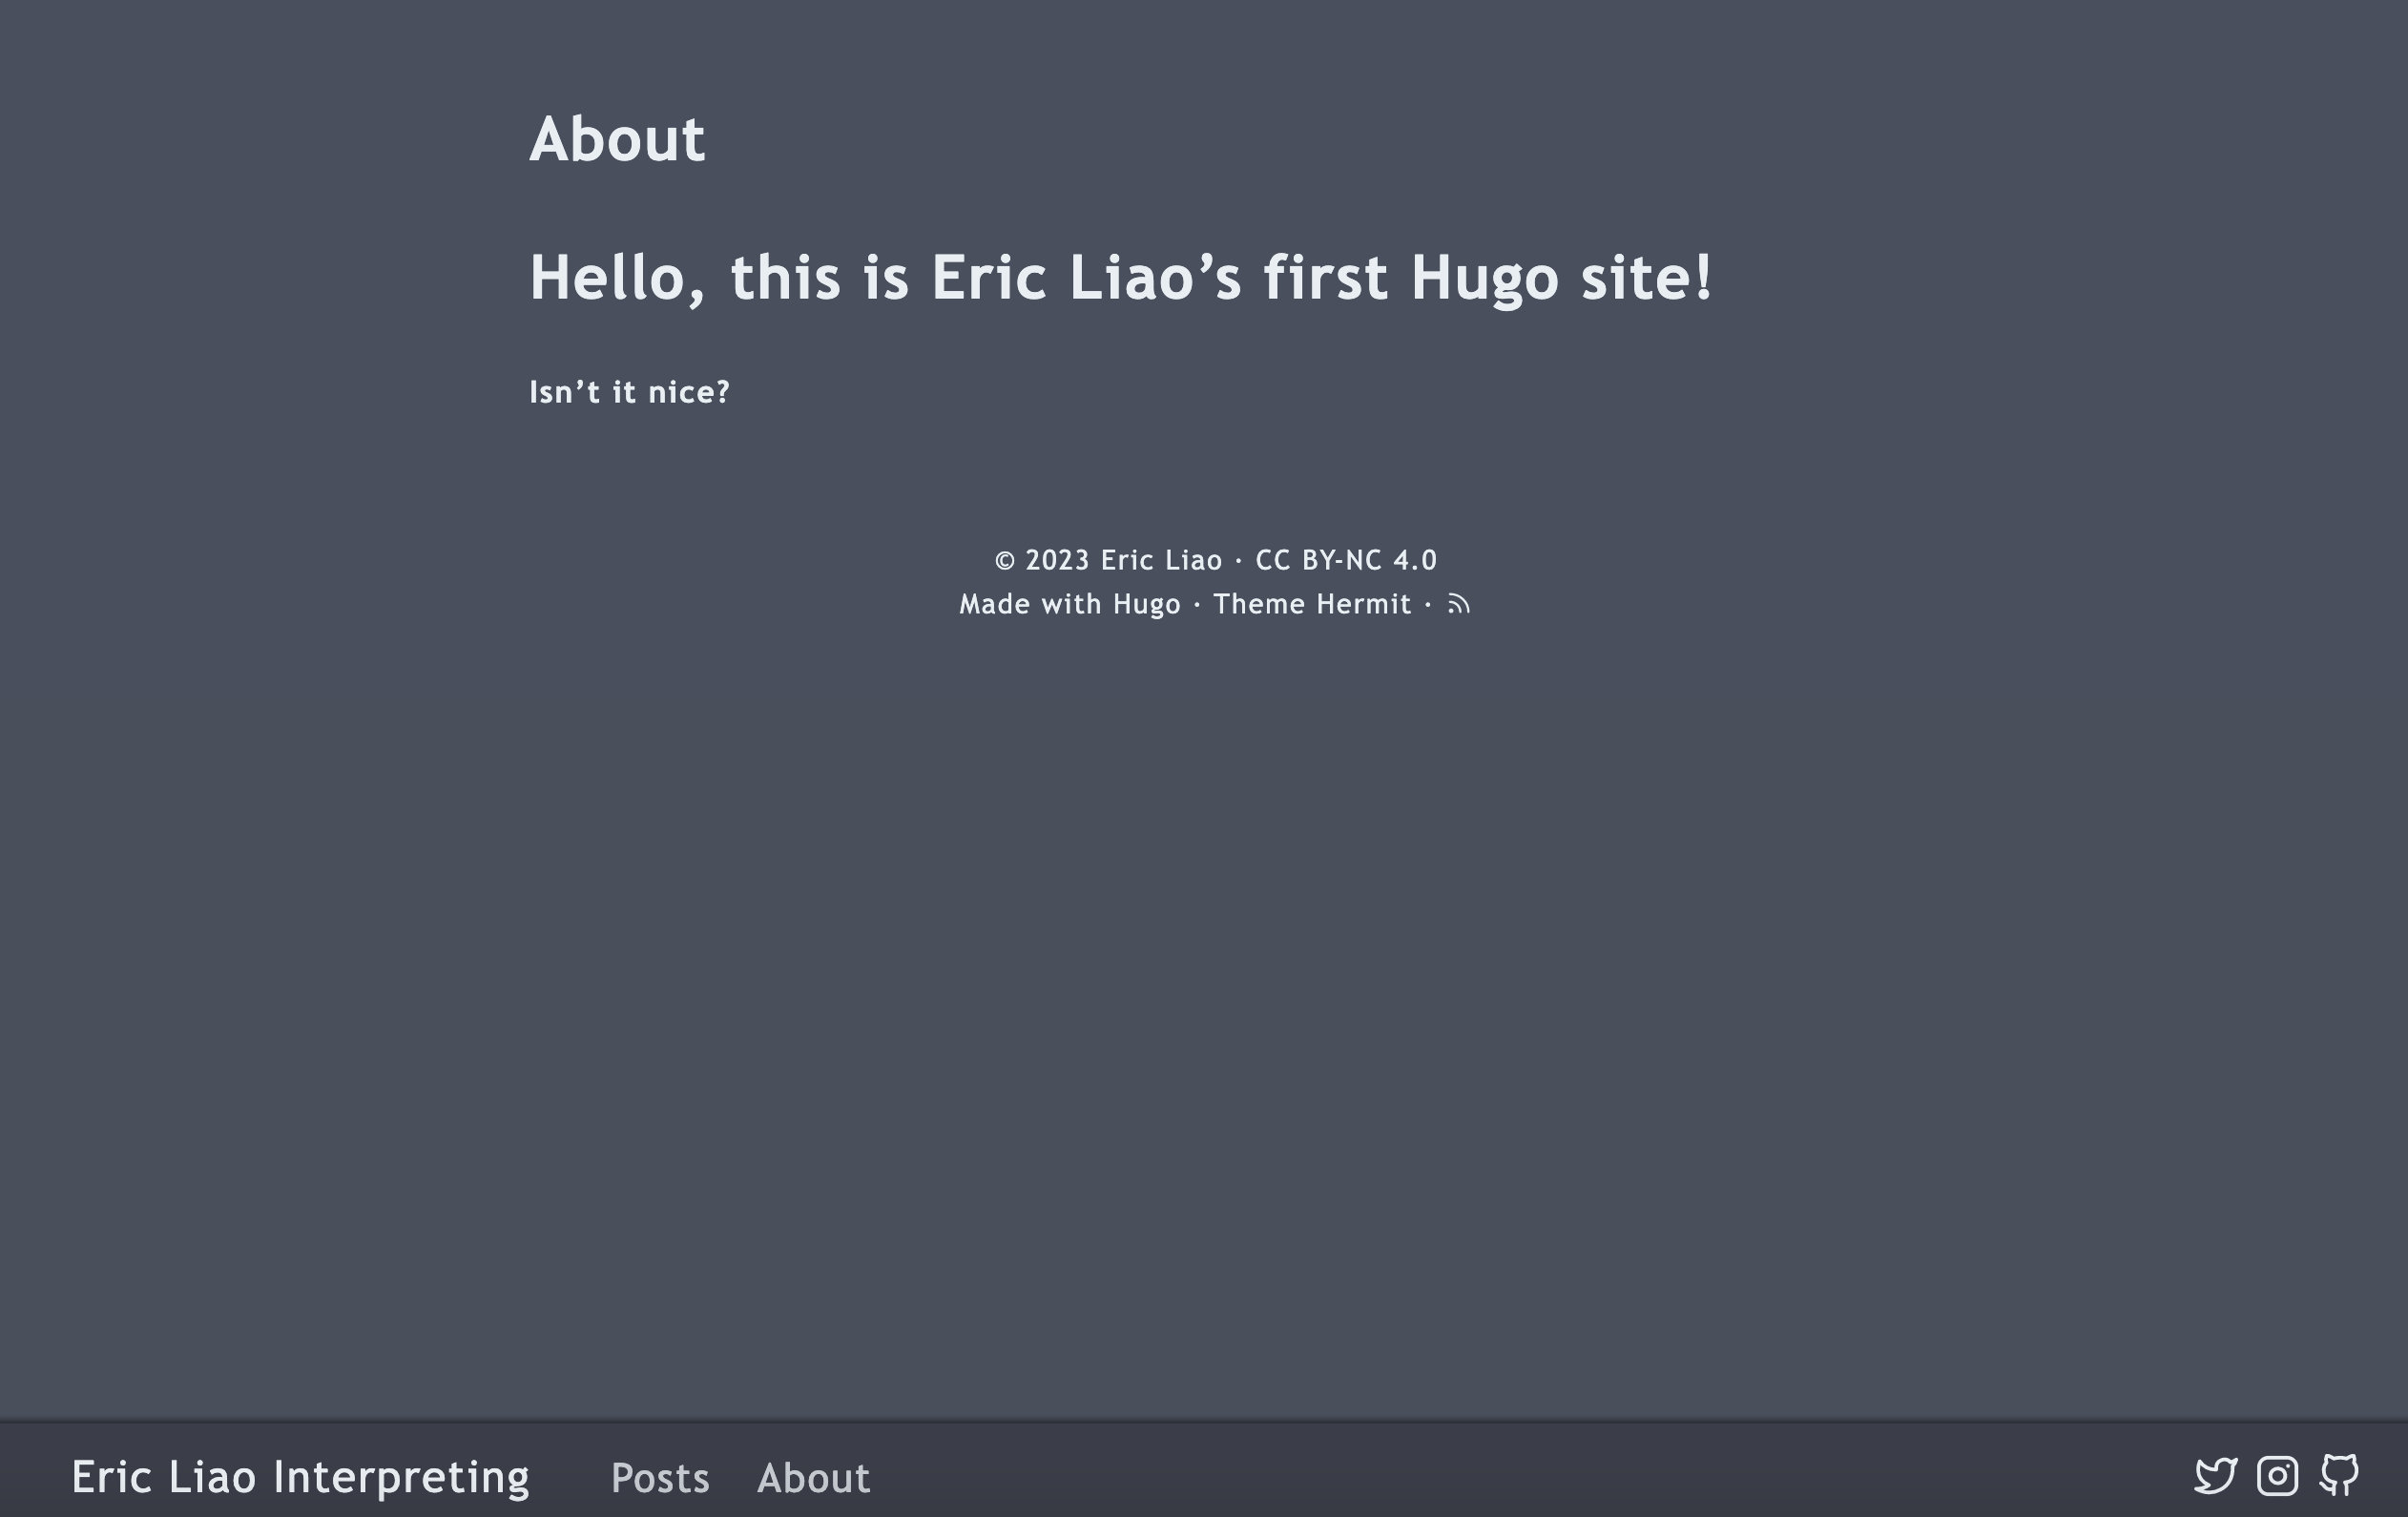
The Hermit theme worked!
Home page
About page
STEP 3. Deploy to Git Pages
Get the website rendered in the public folder
In your terminal, run the following command:
cd mysite #(note: here should be 'cd' + the full path to mysite)
hugo
Then you’ll see a public folder appears in the mysite folder, it contains the web files(might include .HTML, .css, .js, etc.) that Hugo automatically generates.
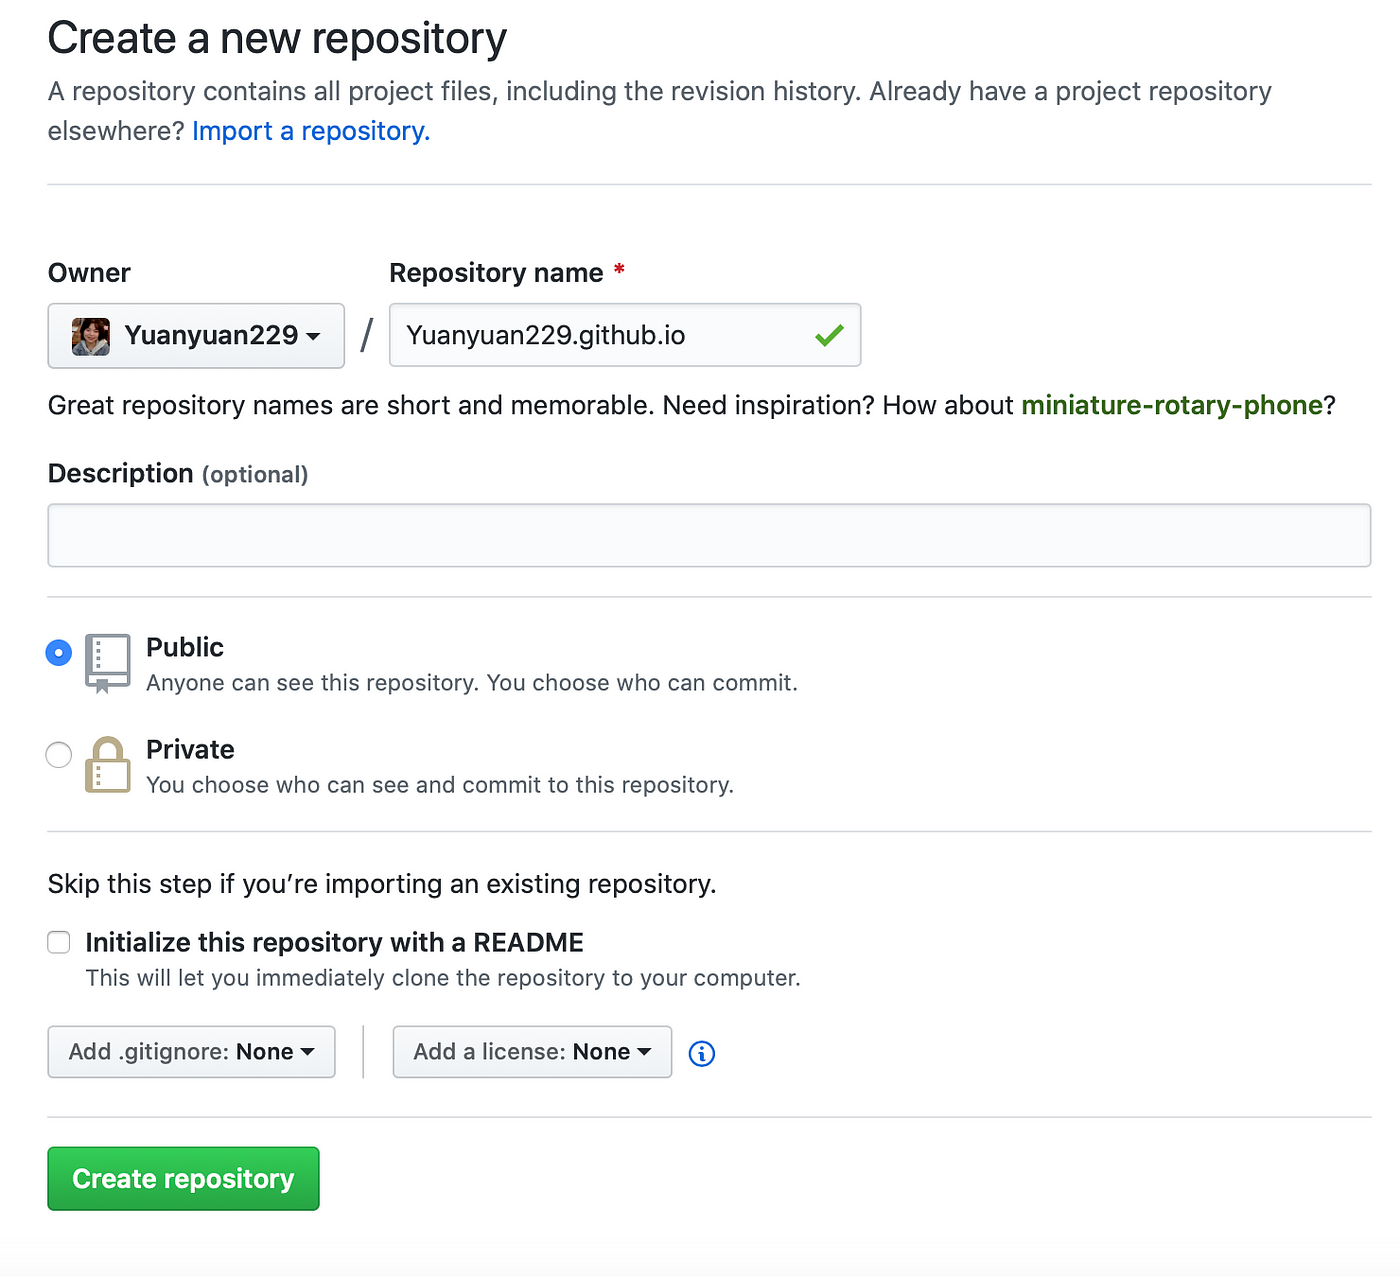
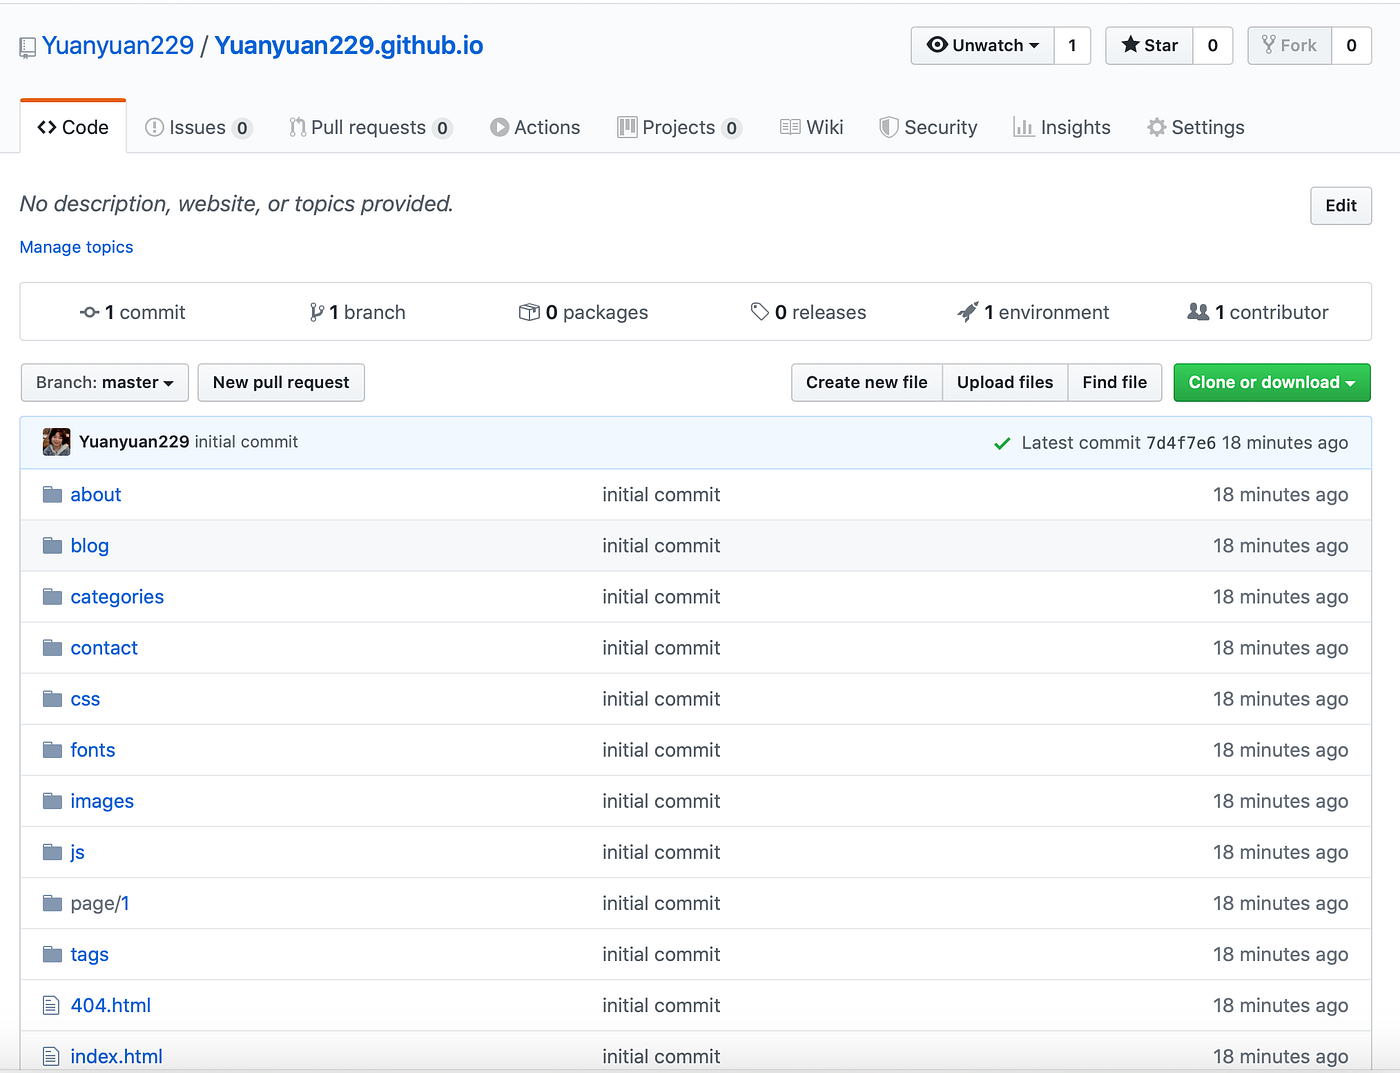
Create your Github Repository
In order to publish your site with the link ekliao.github.io, you will need to create a repository named ekliao.github.io.
- Go to your Github webpage and click on the “New” to create a new repository, contain the fully rendered version of your Hugo website.

- Then don’t initiate with a README.md, click on “Create Repository”.
My repository name: EricLiaoInterpreting.github.io
Description:
Eric Liao Interpreting - ...
Go back to terminal and commit
- In terminal, go to the directory of the
publicfolder, then run commands:
cd public
git init
git add .
git remote add origin https://github.com/ekliao/EricLiaoInterpreting.github.io.git
If encountering
remote origin already existserror:
git remote add origin https://github.com/ekliao/EricLiaoInterpreting.github.io.git

error: remote origin already exists.
Do this to remove origin and try again:
git remote remove origin

git remote add origin https://github.com/ekliao/EricLiaoInterpreting.github.io.git
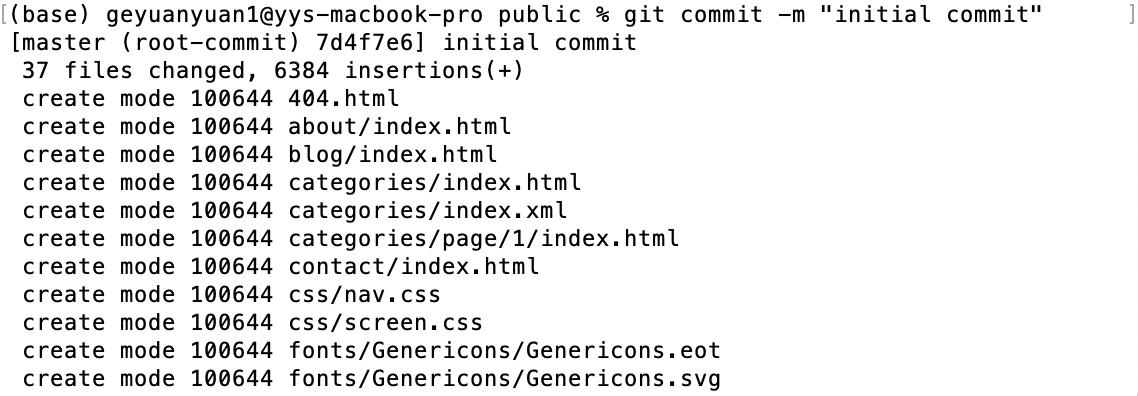
Then do this (Note that the commit comment must be a pair of straight double-quotes, not smart quotes):
git commit -m "first commit"
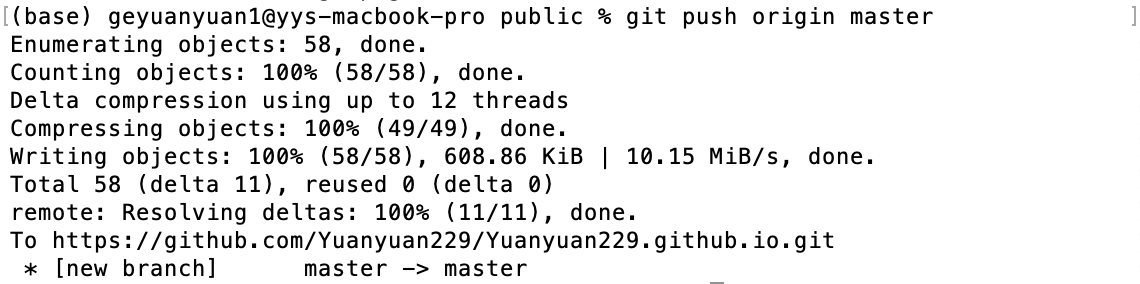
git push origin master
Dang! I got this error:
git push origin master
Error:
error: src refspec master does not match any

error: failed to push some refs to 'https://github.com/ekliao/EricLiaoInterpreting.github.io.git'
Googling for solutions, I did this:
git checkout -b master
Got result:
Switched to a new branch 'master'
Now commit again:
git push origin master

Username for 'https://github.com': ekliao

Password for 'https://ekliao@github.com': (Here it shows a key icon. I had gotten a "token" for "repo", and set up keychain, but here I have to cmd-V to paste it from .git-password file under my directory. It won't show, but will work)

Enumerating objects: 25, done.

Counting objects: 100% (25/25), done.

Delta compression using up to 8 threads

Compressing objects: 100% (24/24), done.

Writing objects: 100% (25/25), 25.14 KiB | 6.28 MiB/s, done.

Total 25 (delta 3), reused 0 (delta 0), pack-reused 0

remote: Resolving deltas: 100% (3/3), done.

To https://github.com/ekliao/EricLiaoInterpreting.github.io.git

 * [new branch]      master -> master
The terminal will display as in the screenshot:
(You can directly add all the files in the public folder (only the files not the entire public folder!) to the repository through Github, too.)
Go check your website!
-
After successfully committed, go to your repository and click on the “Settings” on the top right, then scroll down to the Github Pages section.
-
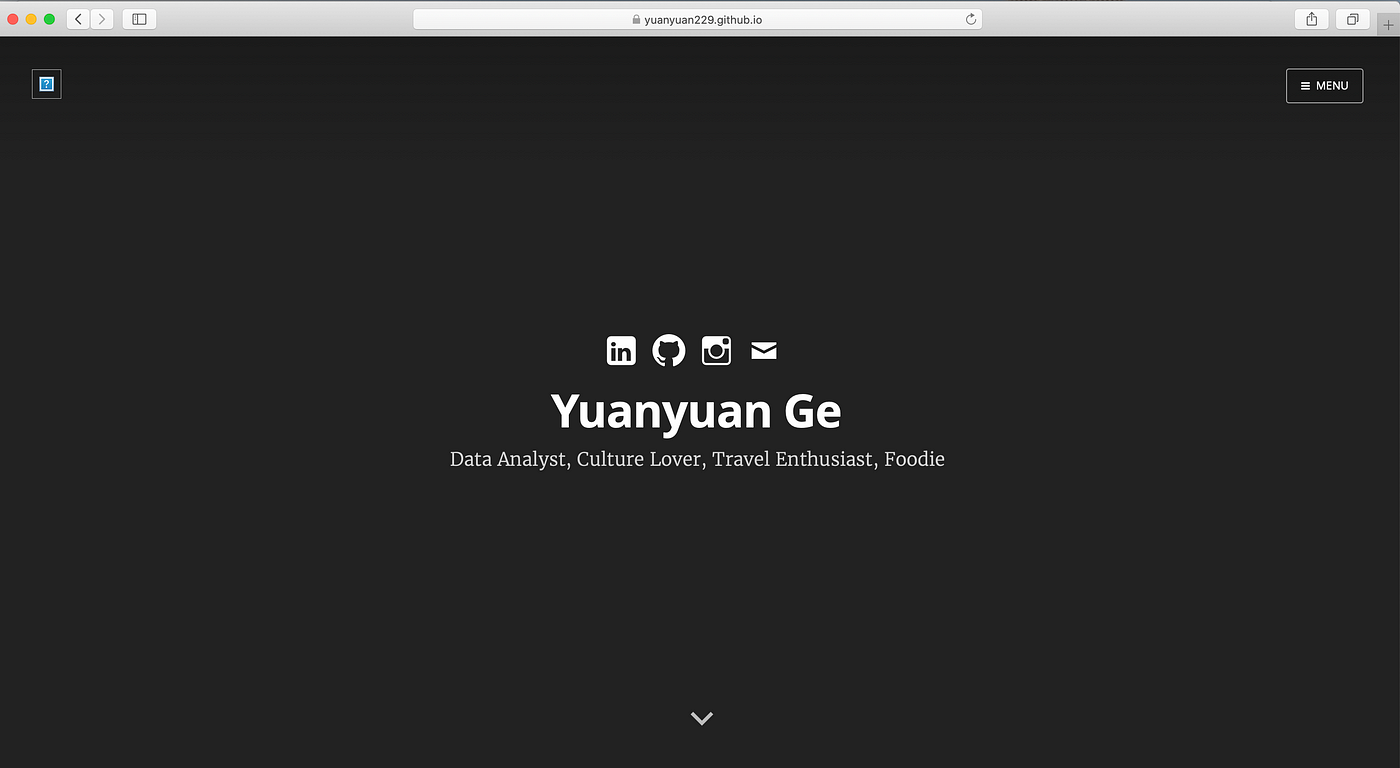
When you see the green box, click on the published link.
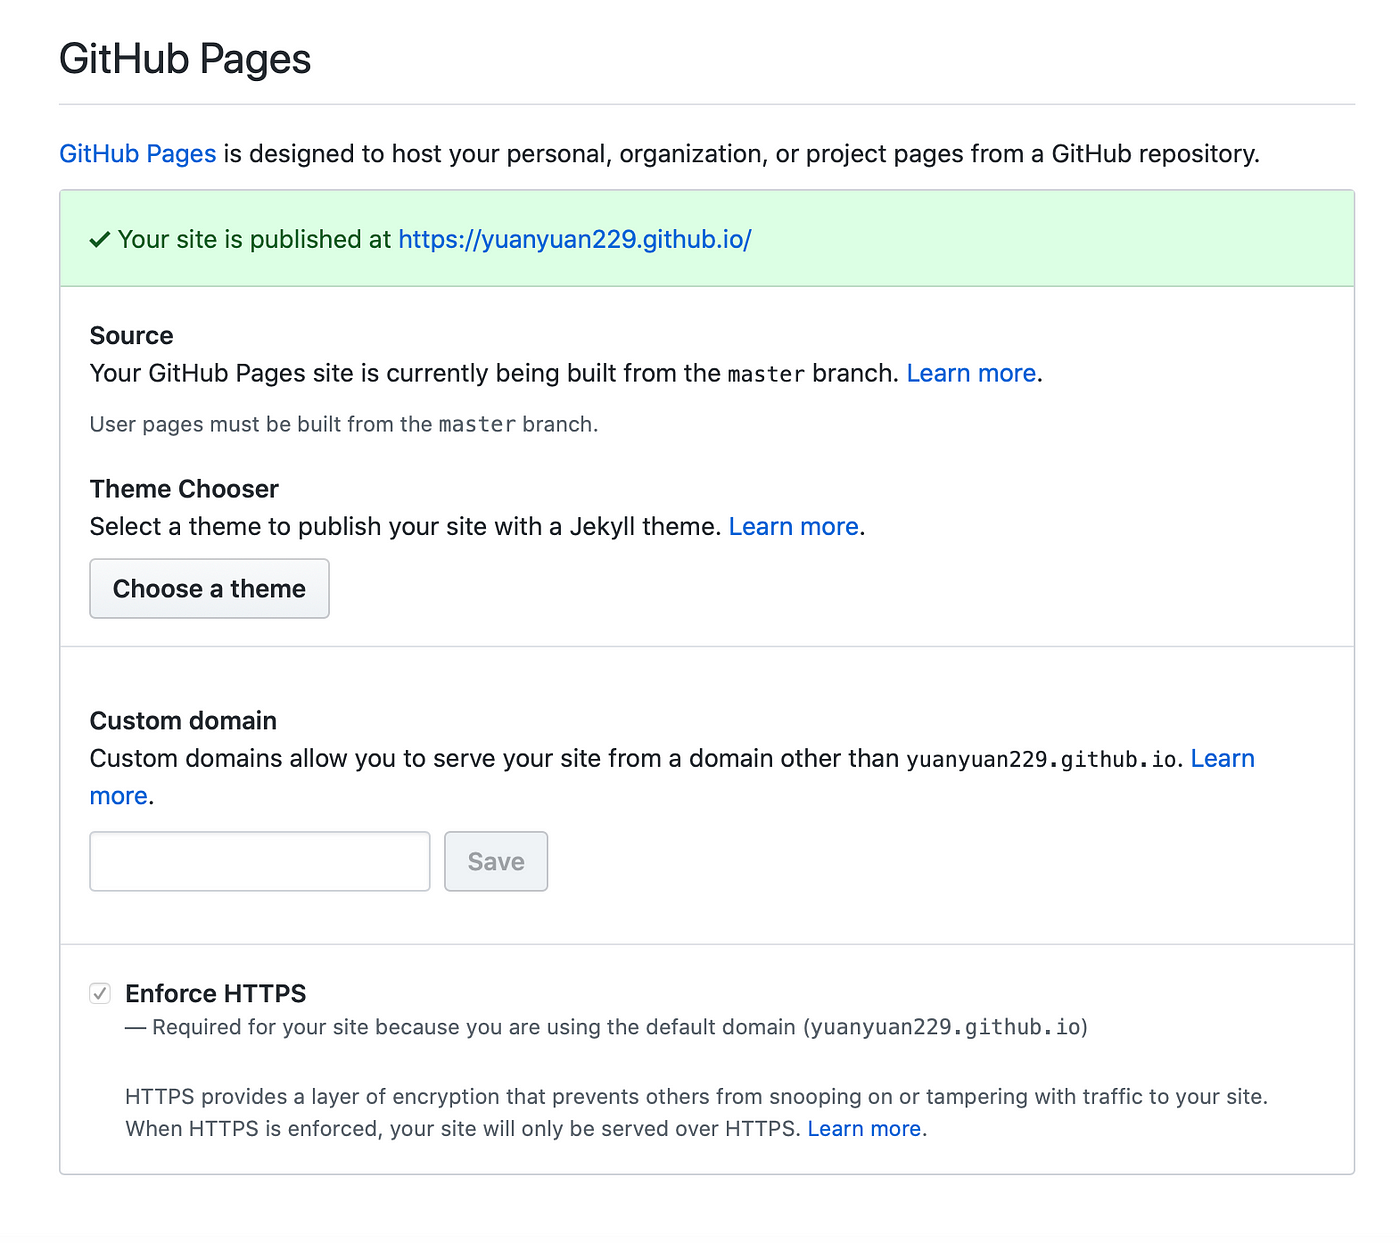
Now the site is successfully published! You can also customize your background image and post new blogs later!
Unfortunately I don't see the "published at" green box, and although I tinkered with "custom domain" and was once successful in getting it published to
https://ekliao.github.io/EricLiaoInterpreting.github.io, it never worked again a second time. I've hit a snag!I truly feel that this Github business is not for me. It requires too much knowledge about code development, pushing, committing, version control and all that friggin' hassle. I'm done, after several hours of toiling through this not-so-helpful article, whose expected results are totally different from mine and the author never covered all the potential errors (in password, theme, config file) that I encountered. Maybe I need to pony up almost $200/year for the Obsidian Publish service.
Update: Before I became $200 poorer, I found another way through Github + Netlify.
The End
That’s all for this tutorial, happy blogging!
If you want to learn more about Hugo or Github, you can refer to the official websites: HUGO, Github Pages.
Know more about me or my projects by following me on Github, Linkedin, Medium or visit my website here: https://yuanyuan229.github.io.