Netlify with GoDaddy domain name
#project/learn-by-doing
#project/started
#mynote (2023-05-03) Dealing with GoDaddy tech support to fix the CNAME issue was unpleasant and time-consuming. The good news is, domain-name handling was successful without adding the new CNAME record for netlify.app as instructed.
Netlify: Custom Domains with GoDaddy
If you have deployed your app on Netlify but would prefer to use a domain you purchased on GoDaddy, this is the blog for you.
This guide will walk you through the necessary steps to use your custom GoDaddy domain while continuing to use Netlify and all of its useful deployment features.
Prework
This blog assumes that you have already created a Netlify account and purchased a GoDaddy domain. If you have not done so, you can Sign-up/purchase here (Netlify & GoDaddy).
Please note that Netlify now allows users to purchase domains direct
For a tutorial on how to deploy a GitHub Repository to Netlify, please see my blog posted here.
Netlify: Getting Started
To get started, we first want to identify our default subdomain. We will need to provide GoDaddy with this information later on. To find the default subdomain click on the Domain settings button in the Site overview tab of your Netlify Site.

Site Overview Tab Netlify
Your default subdomain will be the first item in the Custom domains section.
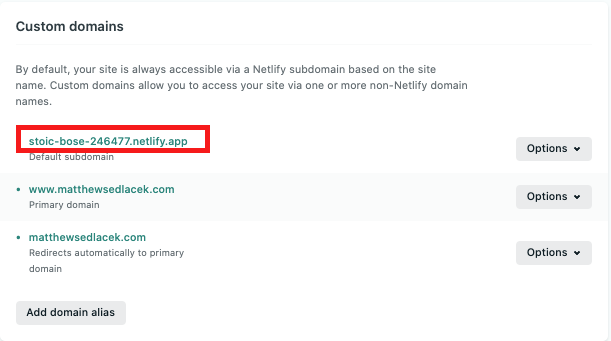
Default Subdomain from Netlify
GoDaddy: DNS Management
Login to your GoDaddy account and select All Domains from the Domains dropdown.
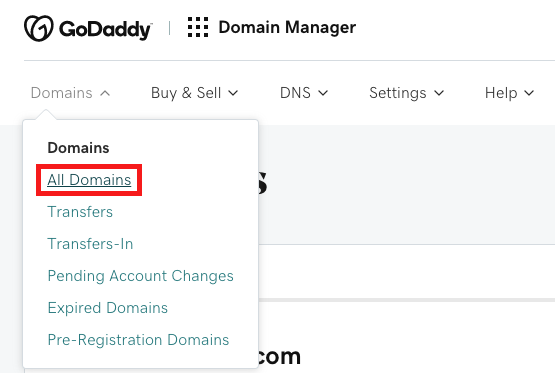
GoDaddy Landing Page
Click on the custom domain you would like to use for your Netlify Site.

List of Domains from GoDaddy
Scroll down to additional settings and click on Manage DNS. This will populate the custom domains Records.

The records should be pre-populated with all the required fields you need. The only two fields that you need to update are the value fields for Type A and CName. Type A is the IP Address for the Netlify servers and will be the same for all domains and users, 104.198.14.52. The CName is the Netlify default subdomain we identified earlier. Updating this field allows GoDaddy to send the custom domain to the correct Netlify subdomain.
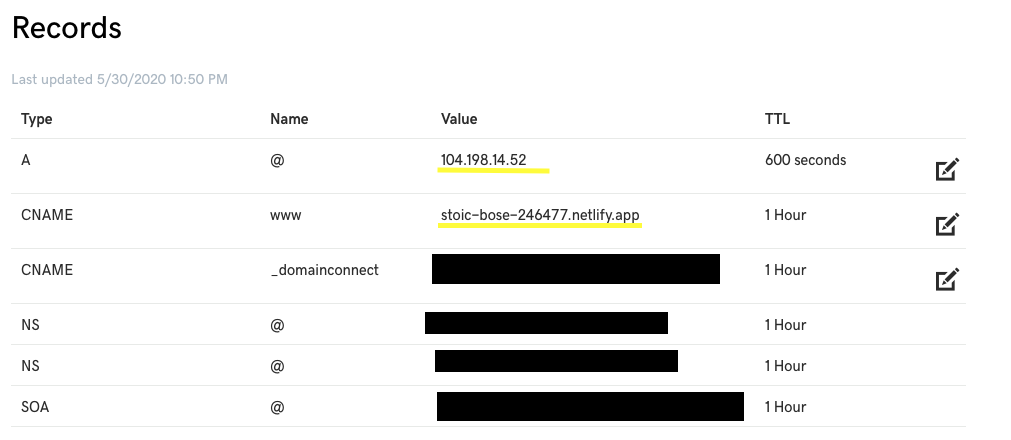
GoDaddy DNS Management Records
Netlify: Custom Domain Verification
Now back in Netlify, we are able to add our custom domain. Click on the Add custom domain button.
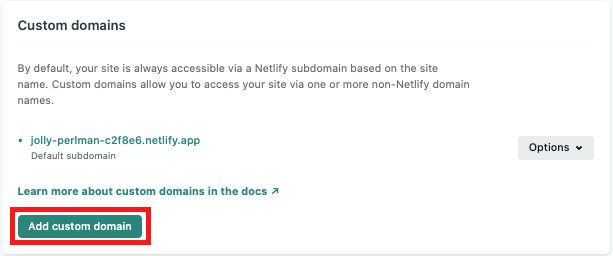
Add Custom Domain
Next, type in your custom domain, starting with “www.” and click verify.
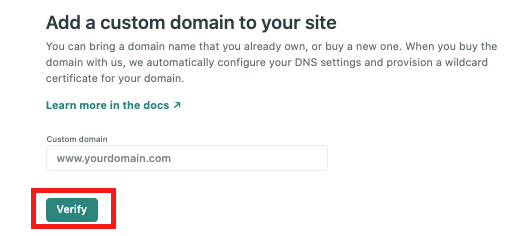
If your verification is successful, you should see something similar to what is shown below. Your custom domains should include a default subdomain, primary domain (i.e., www.matthewsedlacek.com), and redirect for when users don’t type www (i.e., matthewsedlacek.com).

Now it’s time to celebrate; you can now share your custom domain with the world!
Resources
TopTechNow. “How to connect Netlify to Godaddy (Custom Domain).”YouTube, uploaded by TopTechNow, 18 January 2018, https://www.youtube.com/watch?v=qbChXHDAK4s.
Other resources
- This video reassured me about https when other web pages glossed over it. The devil is in the details. Thank you, Haydn!